Using Up Ankle is easy!
Up Ankle must be paried with your favorite compression wrap or sleeve.


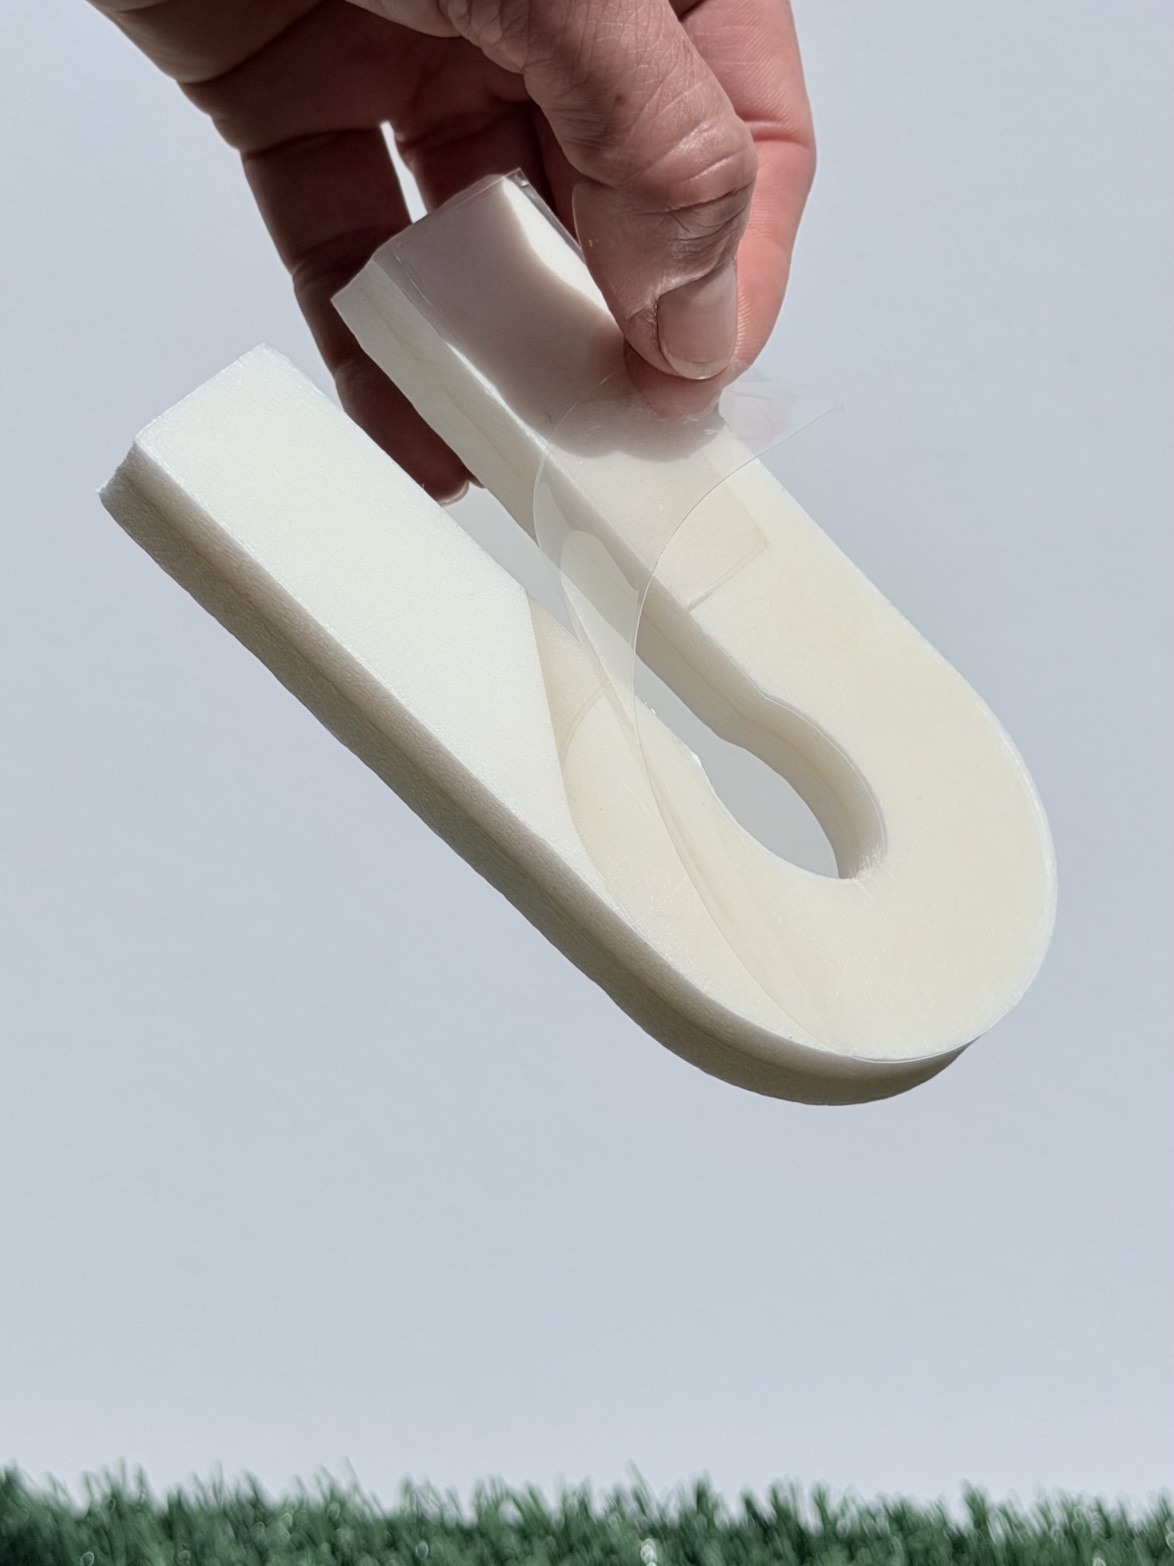
Peel off the clear backing to expose the adhesive side of Up Ankle, making the foam ready for placement. If preferred, you may lightly press the adhesive onto a soft fabric surface before use to reduce stickiness.
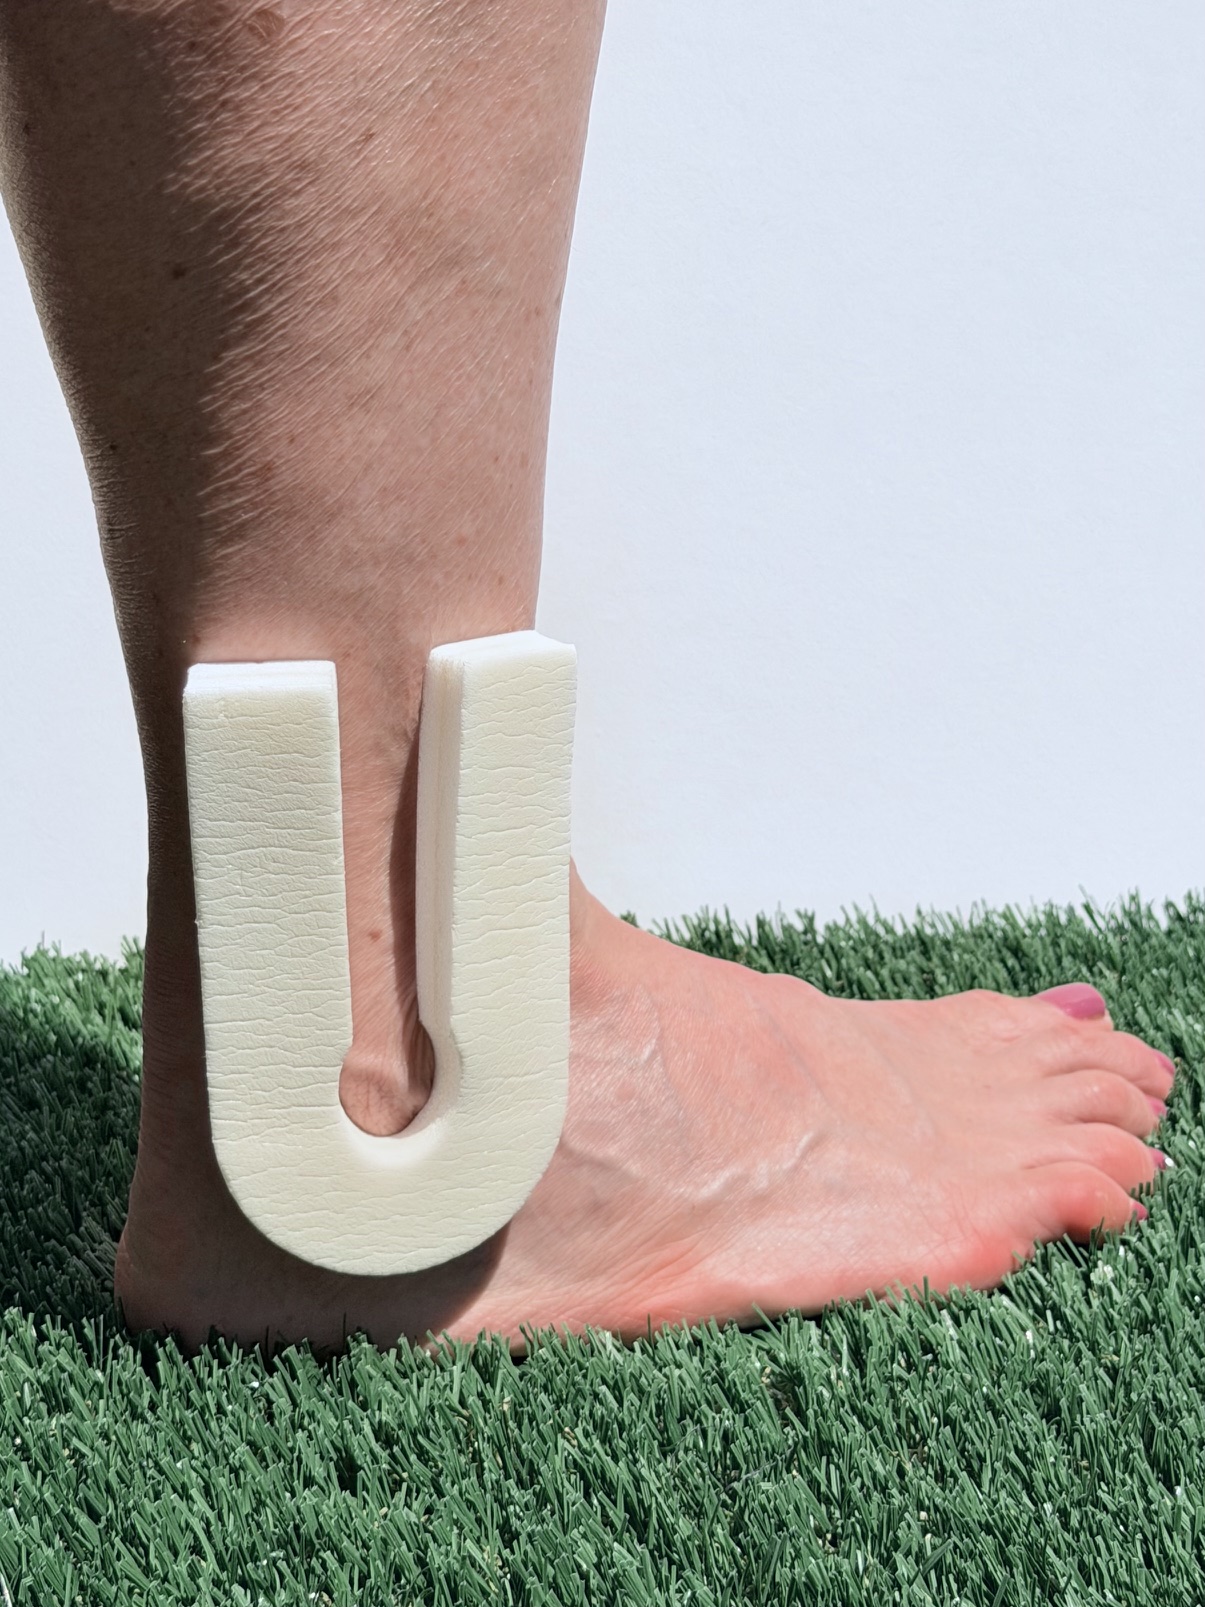
Apply the adhesive side of Up Ankle to the inside or outside of the ankle based on the area where swelling is present. Position the oval opening around the ankle bone, with the open end of the “U” oriented upward along the lower leg. If swelling is present on both sides of the ankle, Up Ankle may be placed on each side.
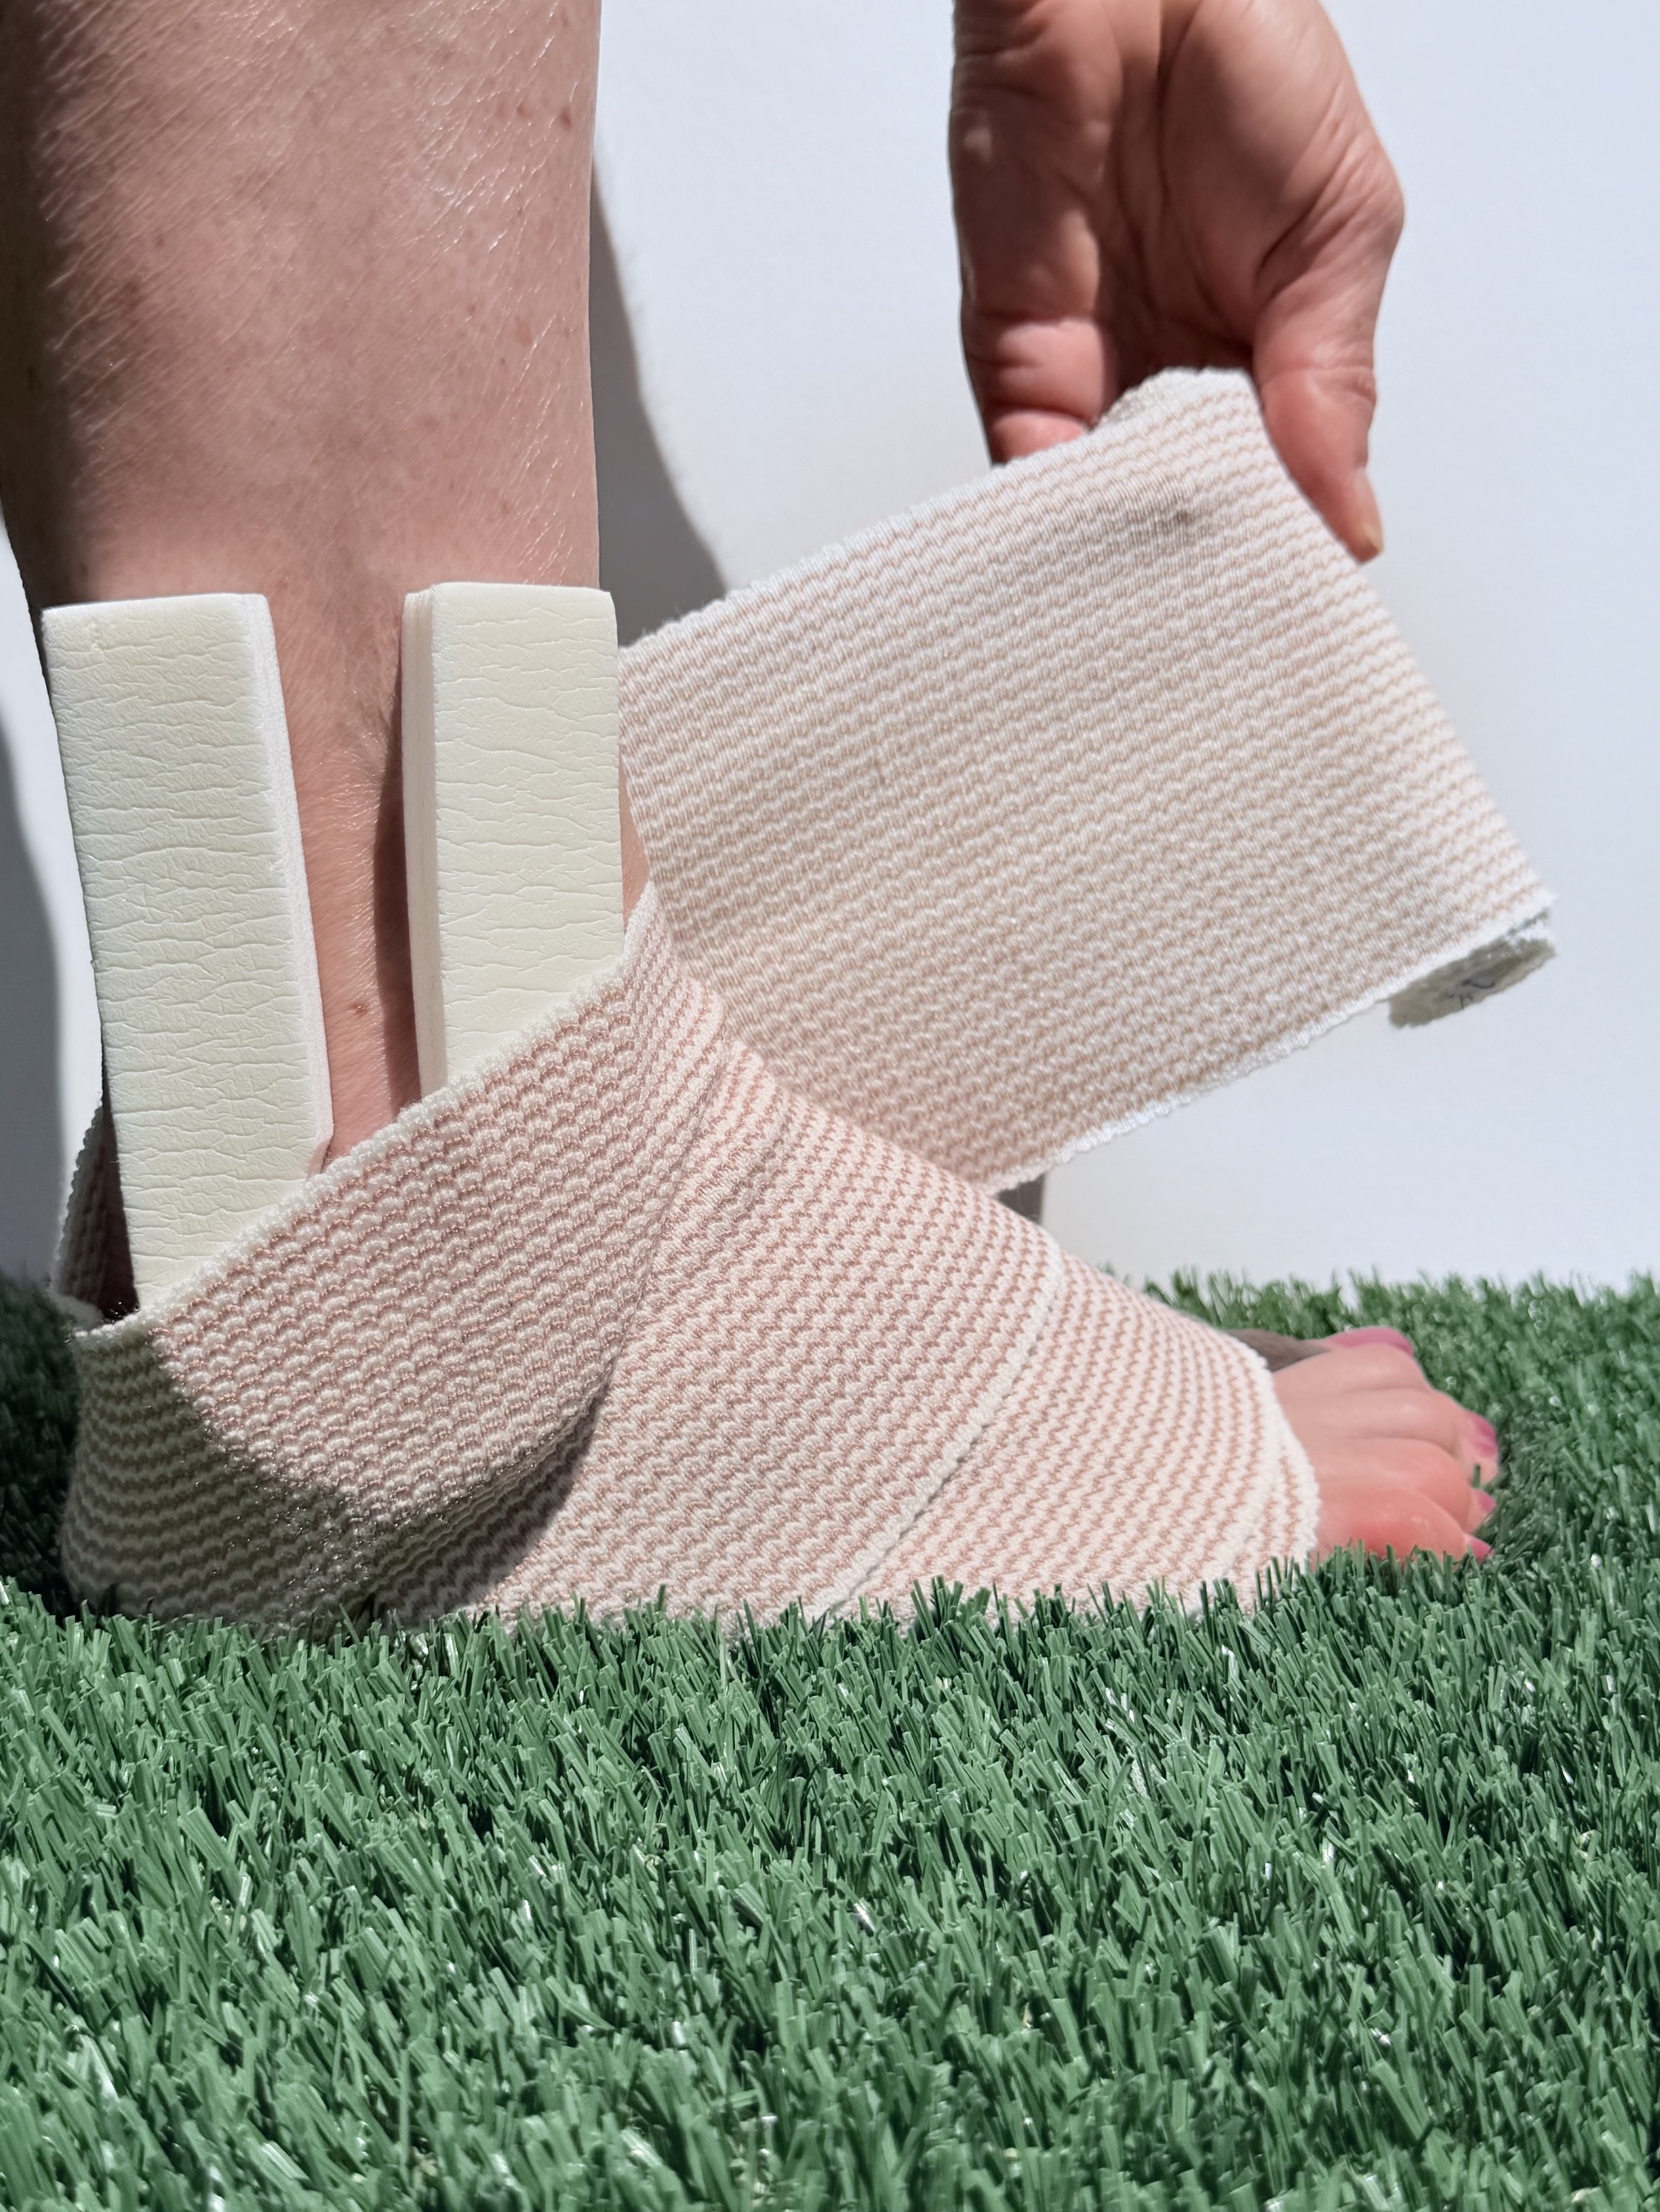
Use your favorite compression wrap or sleeve to keep gentle pressure over the Up Ankle and the joint. If using a compression wrap, begin wrapping at the base of the toes and work upward, covering the skin to just above the foam. Overlap each layer by about half and apply light, even tension. The contoured shape of Up Ankle helps focus compression over common swelling pockets around the joint.
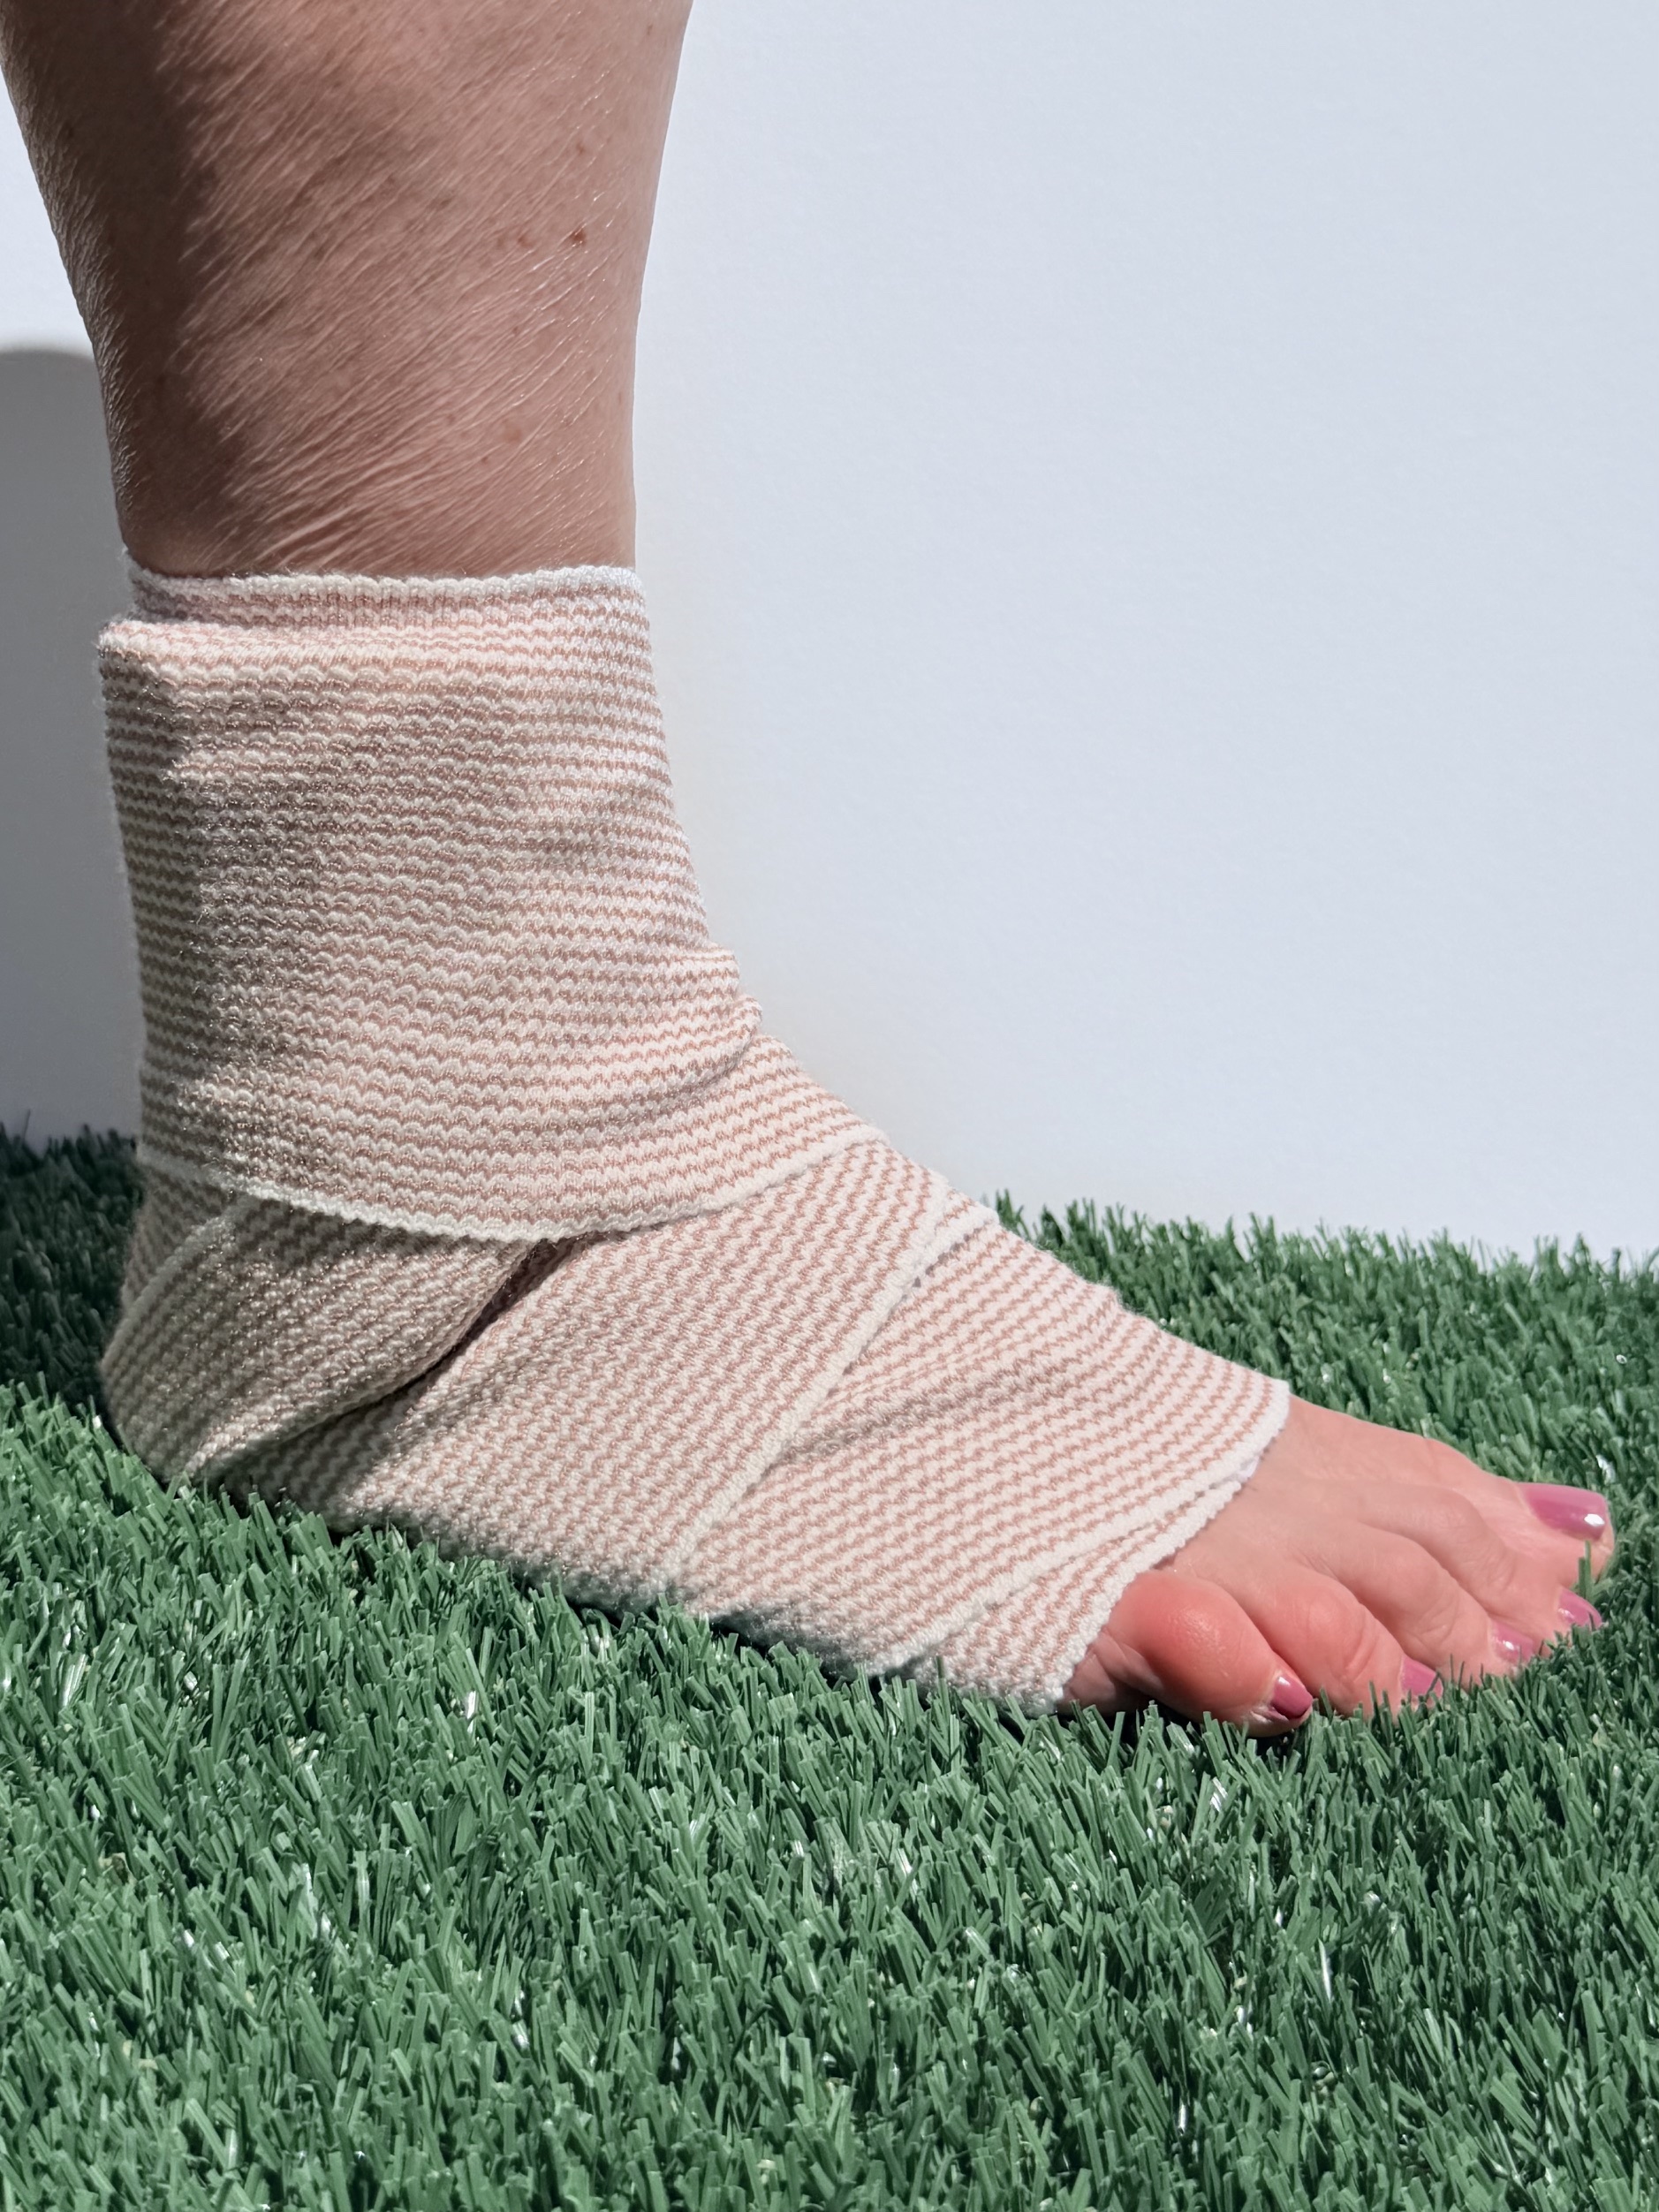
Swelling is focerd out of the pockets of the joint and trapped up along the inside of the "U". Designed to be worn at night and while resting. Continue using while swelling is present along with RICE method.
Questions about the adhesive foam, partnerships, or product details? Send us a message and our team will get back to you.